
Member Management
The Members page is your central hub for managing site members, access groups, and domain-based auto-enrollment. From this page, you can add members individually or in bulk, assign access groups, send magic login links, filter and search your member list, export member data, and configure allowed domains for automatic enrollment.
Access the Members Page
Members is a Pro+ feature. From your site dashboard, navigate to the Members page to view and manage all site members.
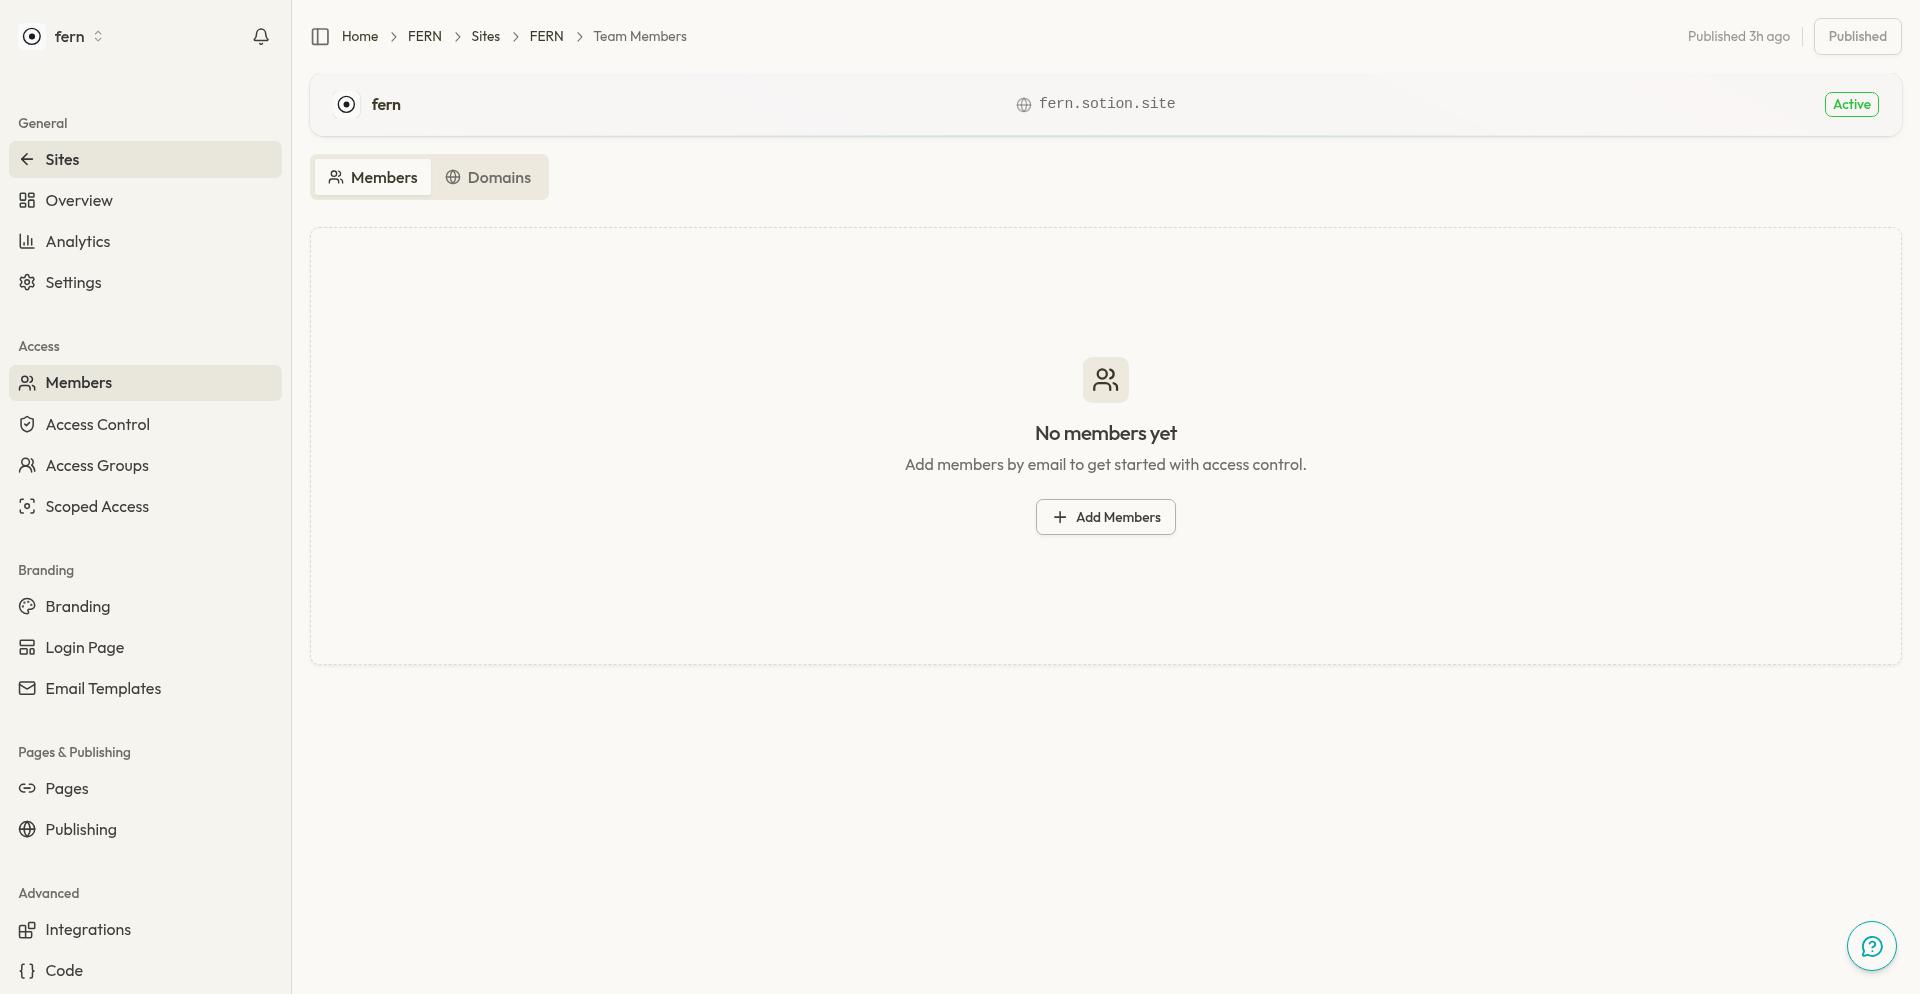
The page displays a table of all members with their email, display name, status, and membership details. Use the tabs at the top to switch between the Members table and Allowed Domains configuration.
Add Members
Add members individually or import many at once using the bulk email dialog.
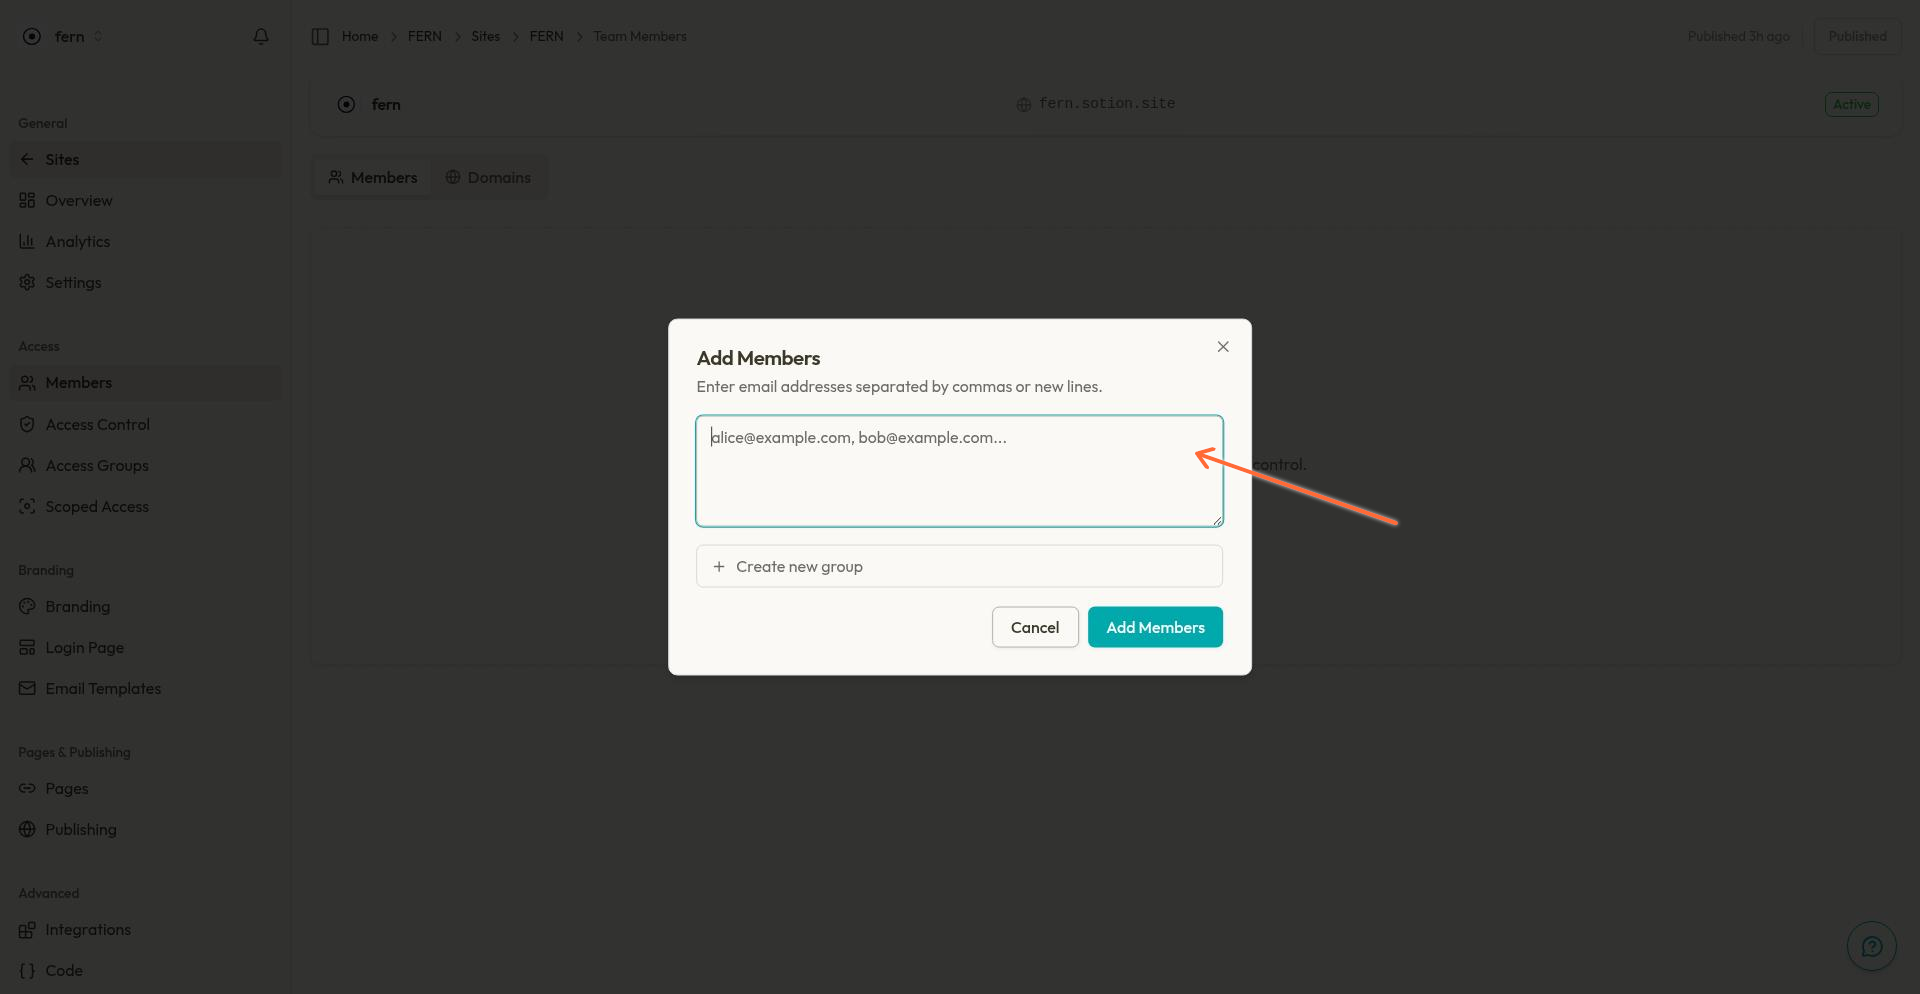
Click Add Members in the toolbar.
In the dialog, enter email addresses separated by commas, spaces, or line breaks. You can paste up to 500 emails at once.
(Optional) Assign members to access groups during creation. Select one or more groups, or create a new group inline using the Create new group option.
Click Add Members to create the members.
If any emails are invalid, the dialog will highlight them for correction before proceeding.
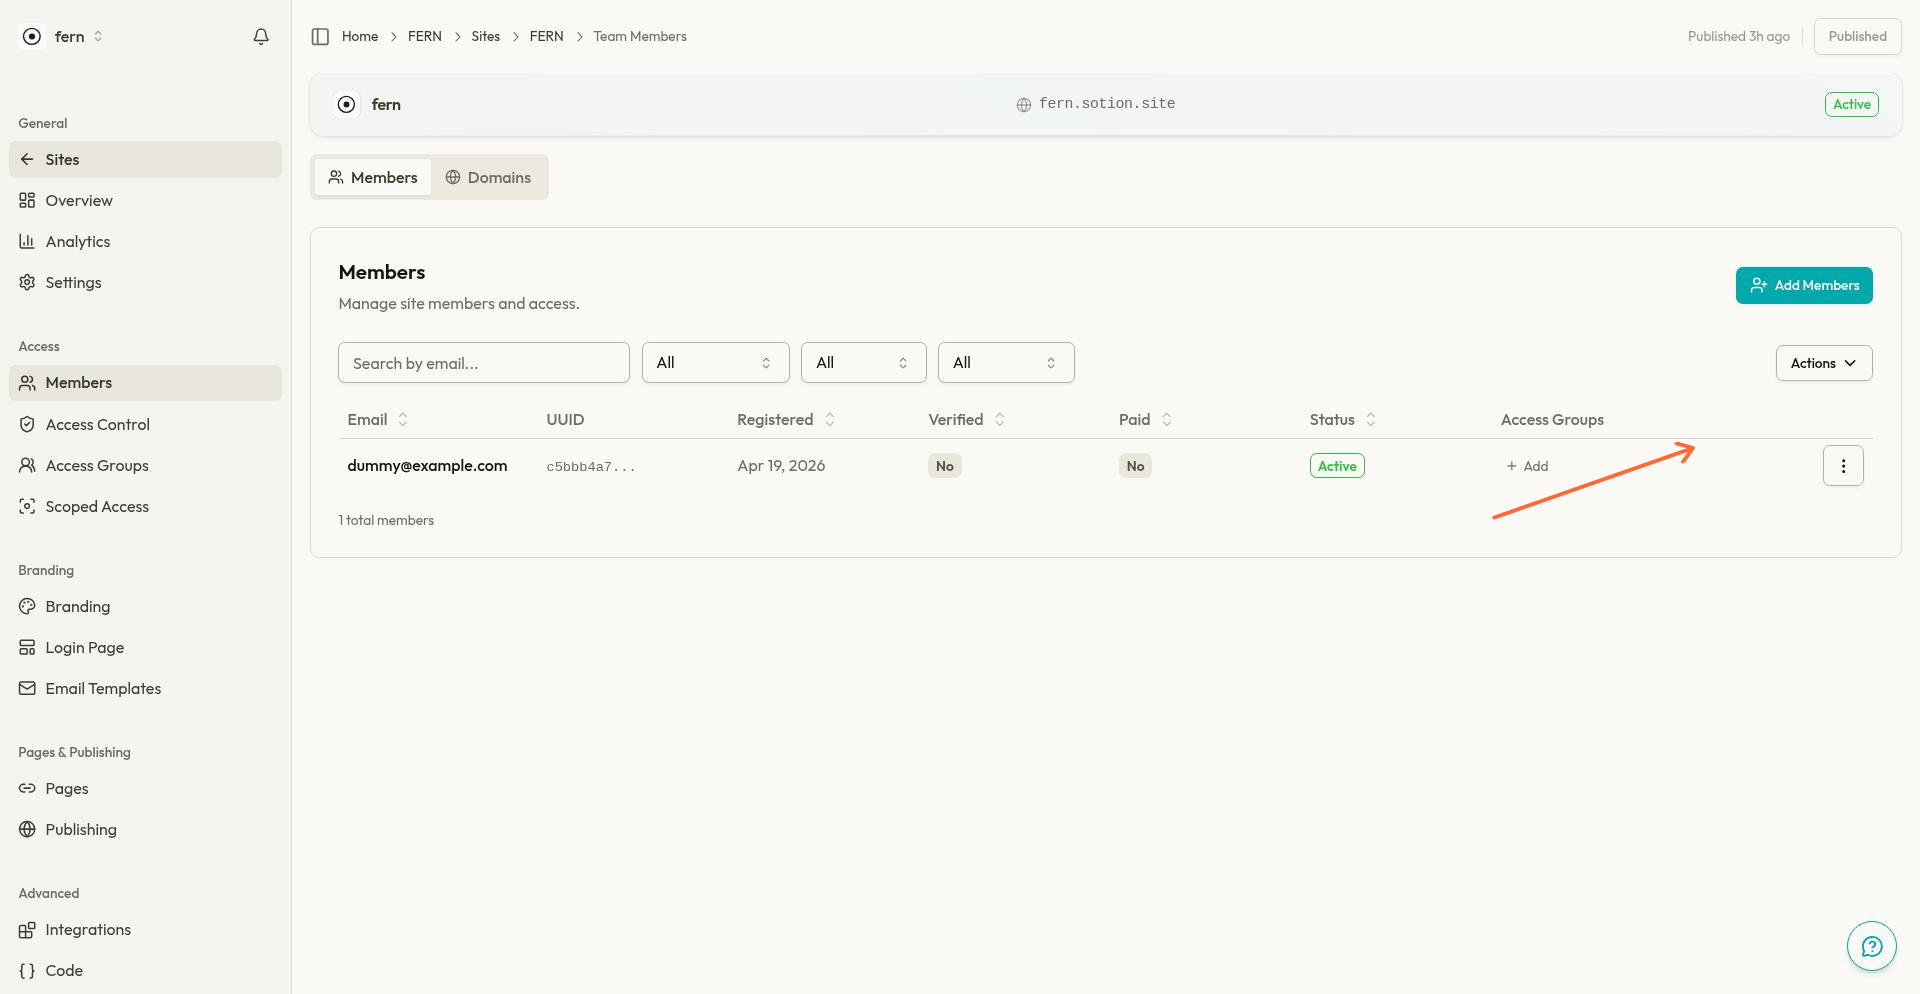
Edit Member Properties
Modify a member's email, display name, status, and flags from the edit dialog.
Click the actions menu (three dots) on the member's row.
Select Edit member.
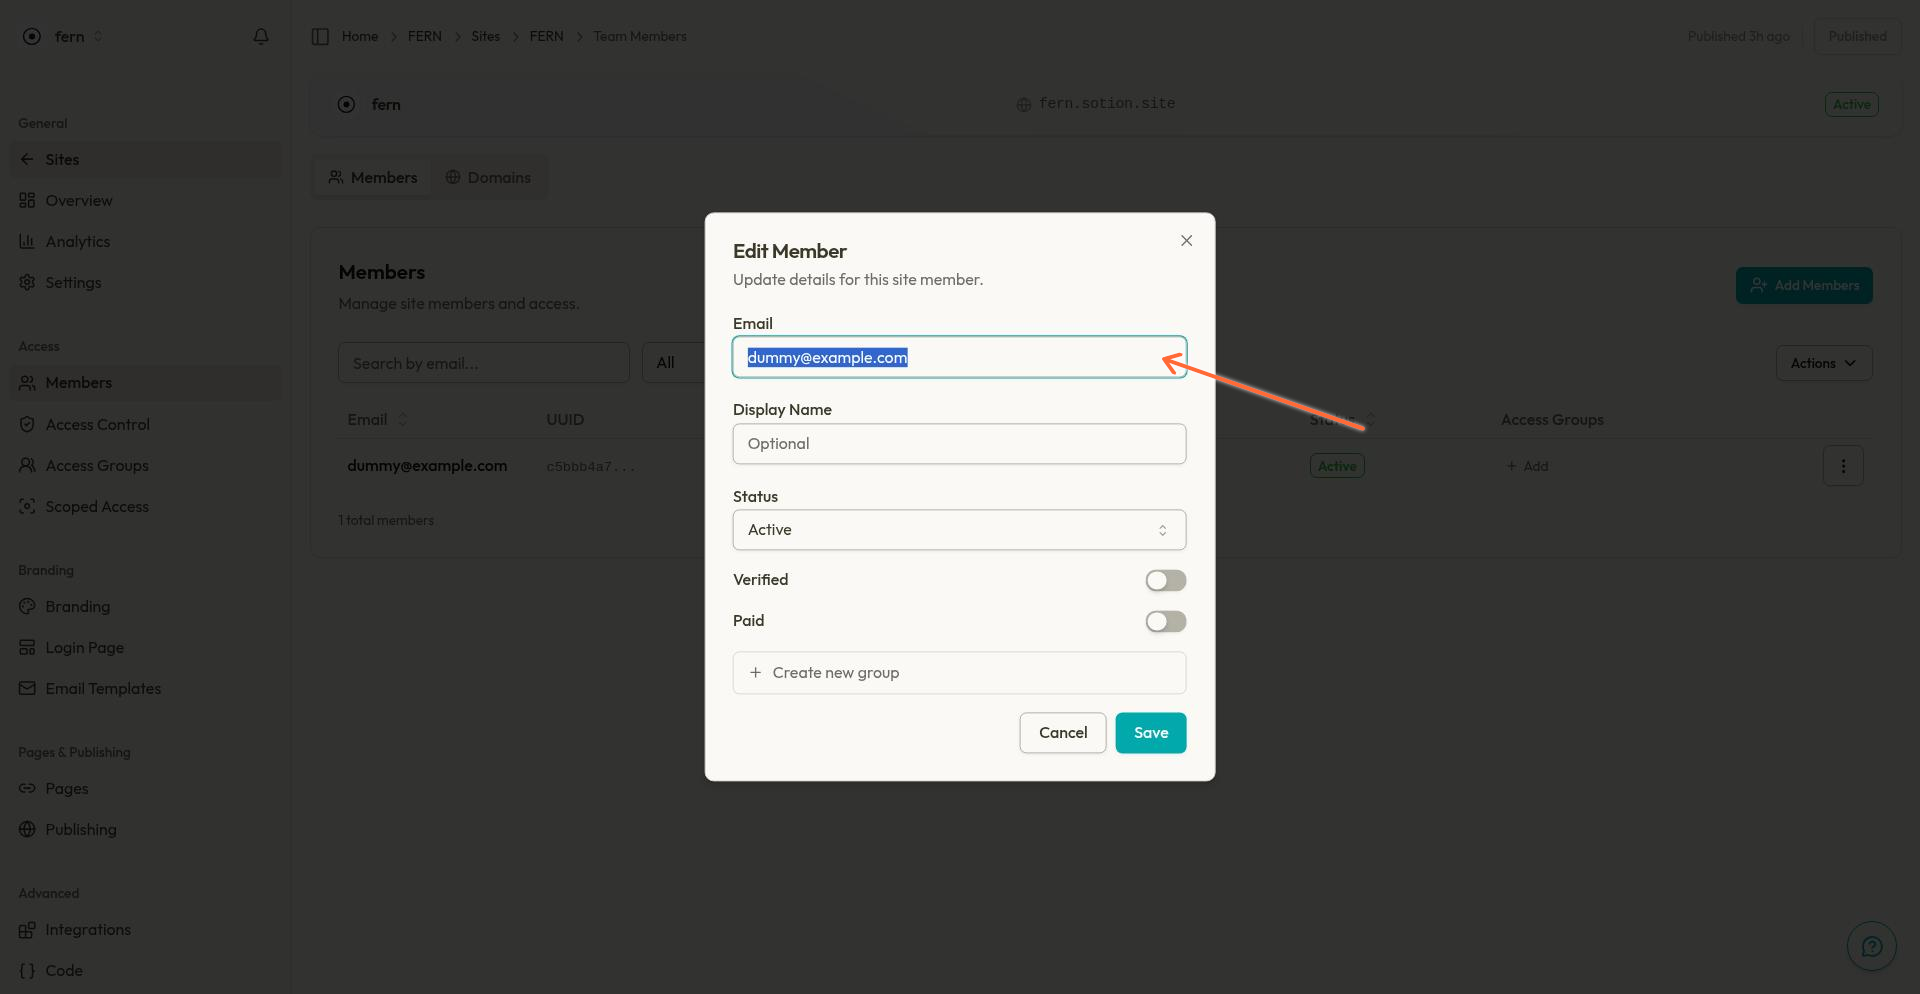
Update the following fields:
Email: The member's login email address.
Display name: A friendly name shown in the member list.
Status: Set to
activeorblocked. Blocked members cannot access protected pages.Verified: Mark the member as having verified their email.
Paid: Mark the member as having paid for access (useful if you manage payments externally).
Access Groups: Add or remove group memberships. Create new groups inline if needed.
Click Save to apply changes.
You can also manage access groups directly from the member's row using the groups popover, without opening the full edit dialog.
Send Magic Login Links
Send a magic link to a member for passwordless login, or copy the link to share it manually.
Click the actions menu (three dots) on the member's row.
Select Send magic link.
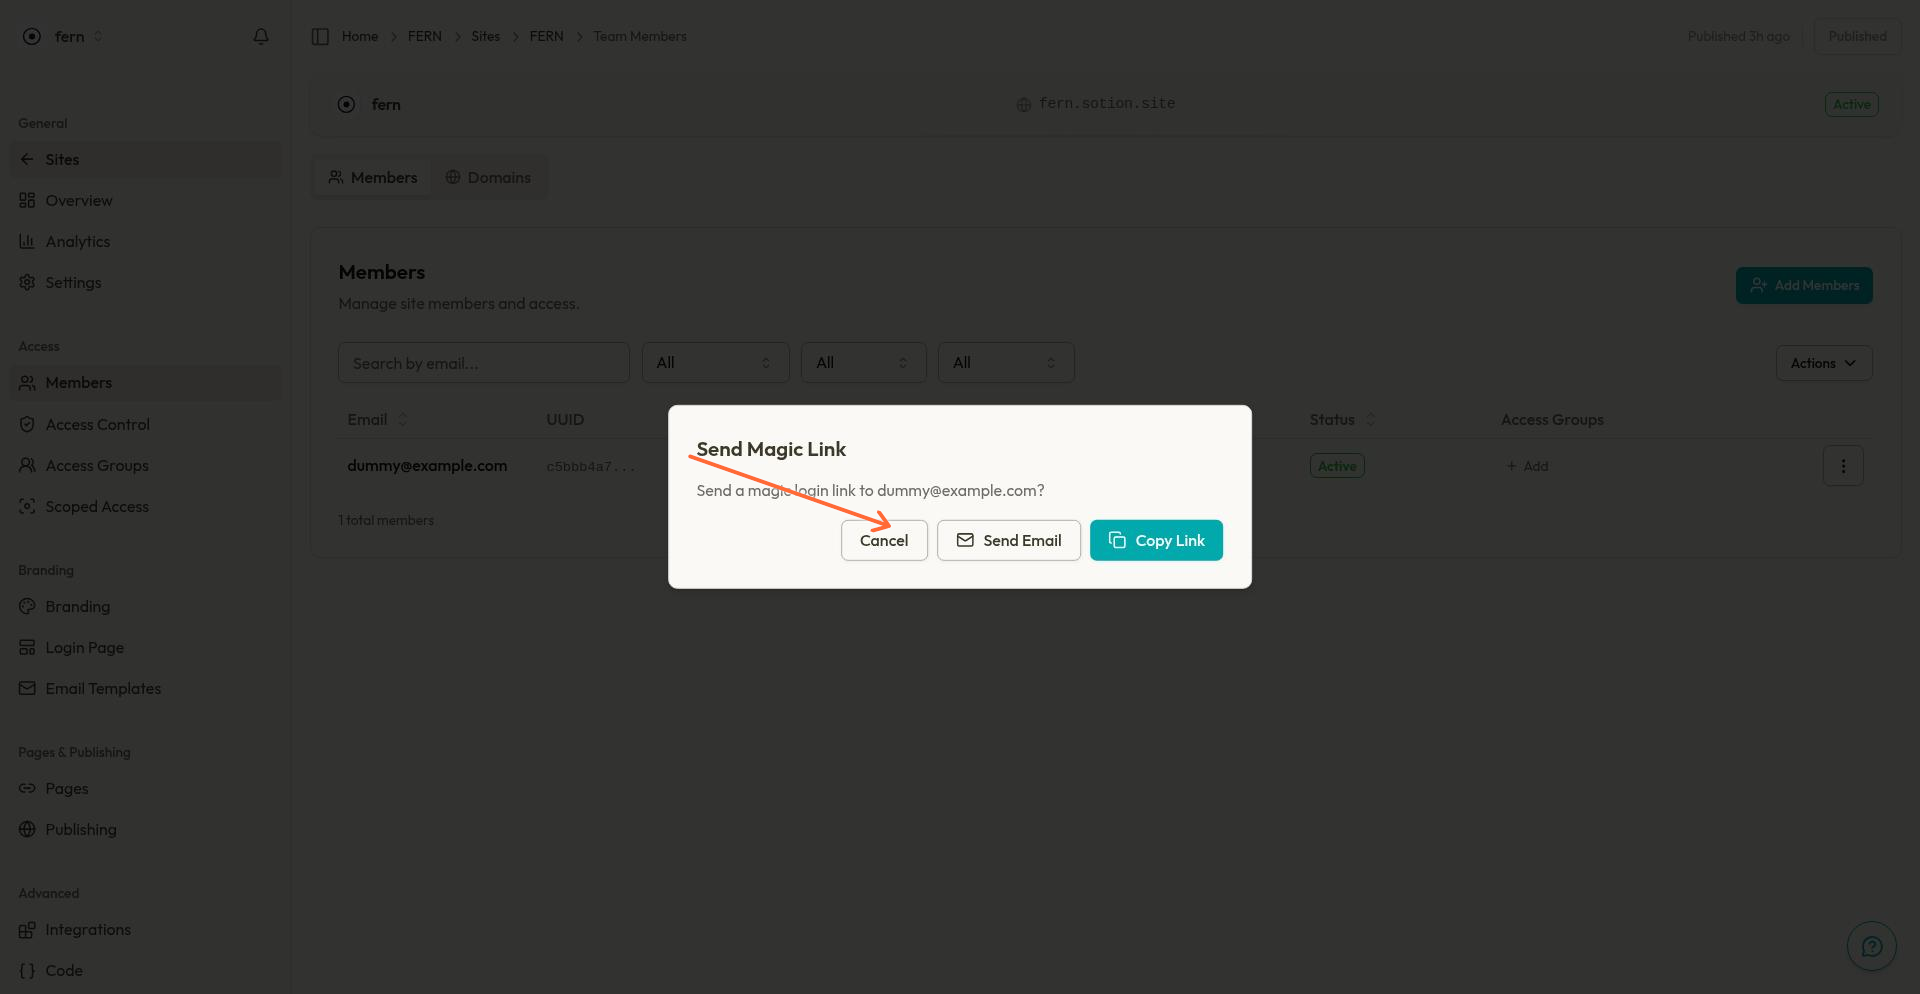
Choose an action:
Copy Link: Copies the magic link to your clipboard. Share it with the member via any channel you prefer.
Send Email: Sends the magic link directly to the member's email. Note: Email sending requires additional configuration and may not be available in all setups.
Magic links provide a seamless login experience. When a member clicks the link, they're authenticated and redirected to your site.
Delete Members
Remove a member to revoke their access to protected pages.
Click the actions menu (three dots) on the member's row.
Select Delete member.
Confirm the deletion.
Deleting a member is permanent. Their access will be revoked immediately. To temporarily restrict access, consider setting their status to blocked instead.
Filter and Search Members
Use the filters at the top of the table to quickly find specific members.
Search: Type an email address to filter the list. The search filters as you type.
Verified: Filter by
All,Yes, orNoverification status.Paid: Filter by
All,Yes, orNopaid status.Blocked: Filter by
All,Yes, orNoto show or hide blocked members.
Filters are URL-driven, so you can bookmark or share filtered views directly.
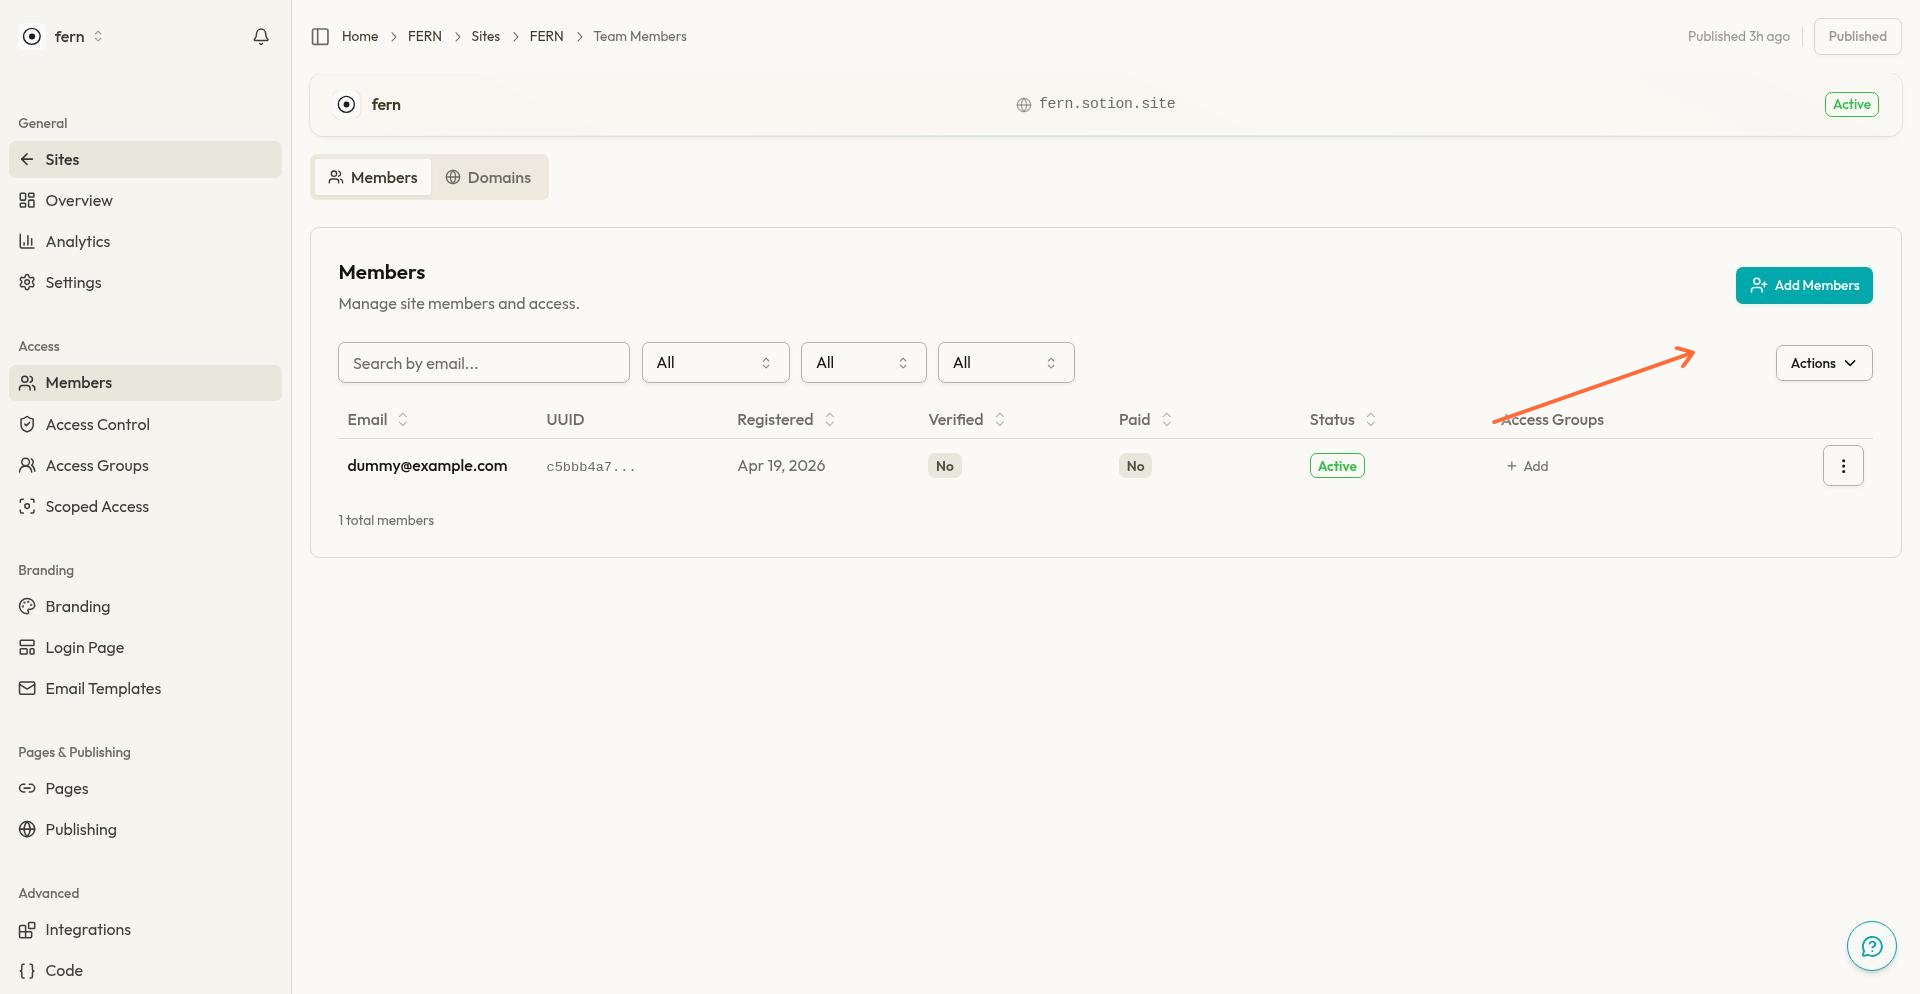
Export Member Data
Download your member list for external analysis or backup.
Apply any filters to narrow the list (exports respect active filters).
Click Actions in the toolbar.
Select Export as CSV or Export as JSON.
Exports are capped at 10,000 rows. If you have more members, consider filtering before exporting or use the Members API for programmatic access.
Allowed Domains
Configure domain-based auto-enrollment to automatically add members from specific email domains. When a visitor signs up with an email from an allowed domain, they're automatically enrolled as a member and assigned to configured access groups.
Switch to the Allowed Domains tab to manage your domain allowlist.
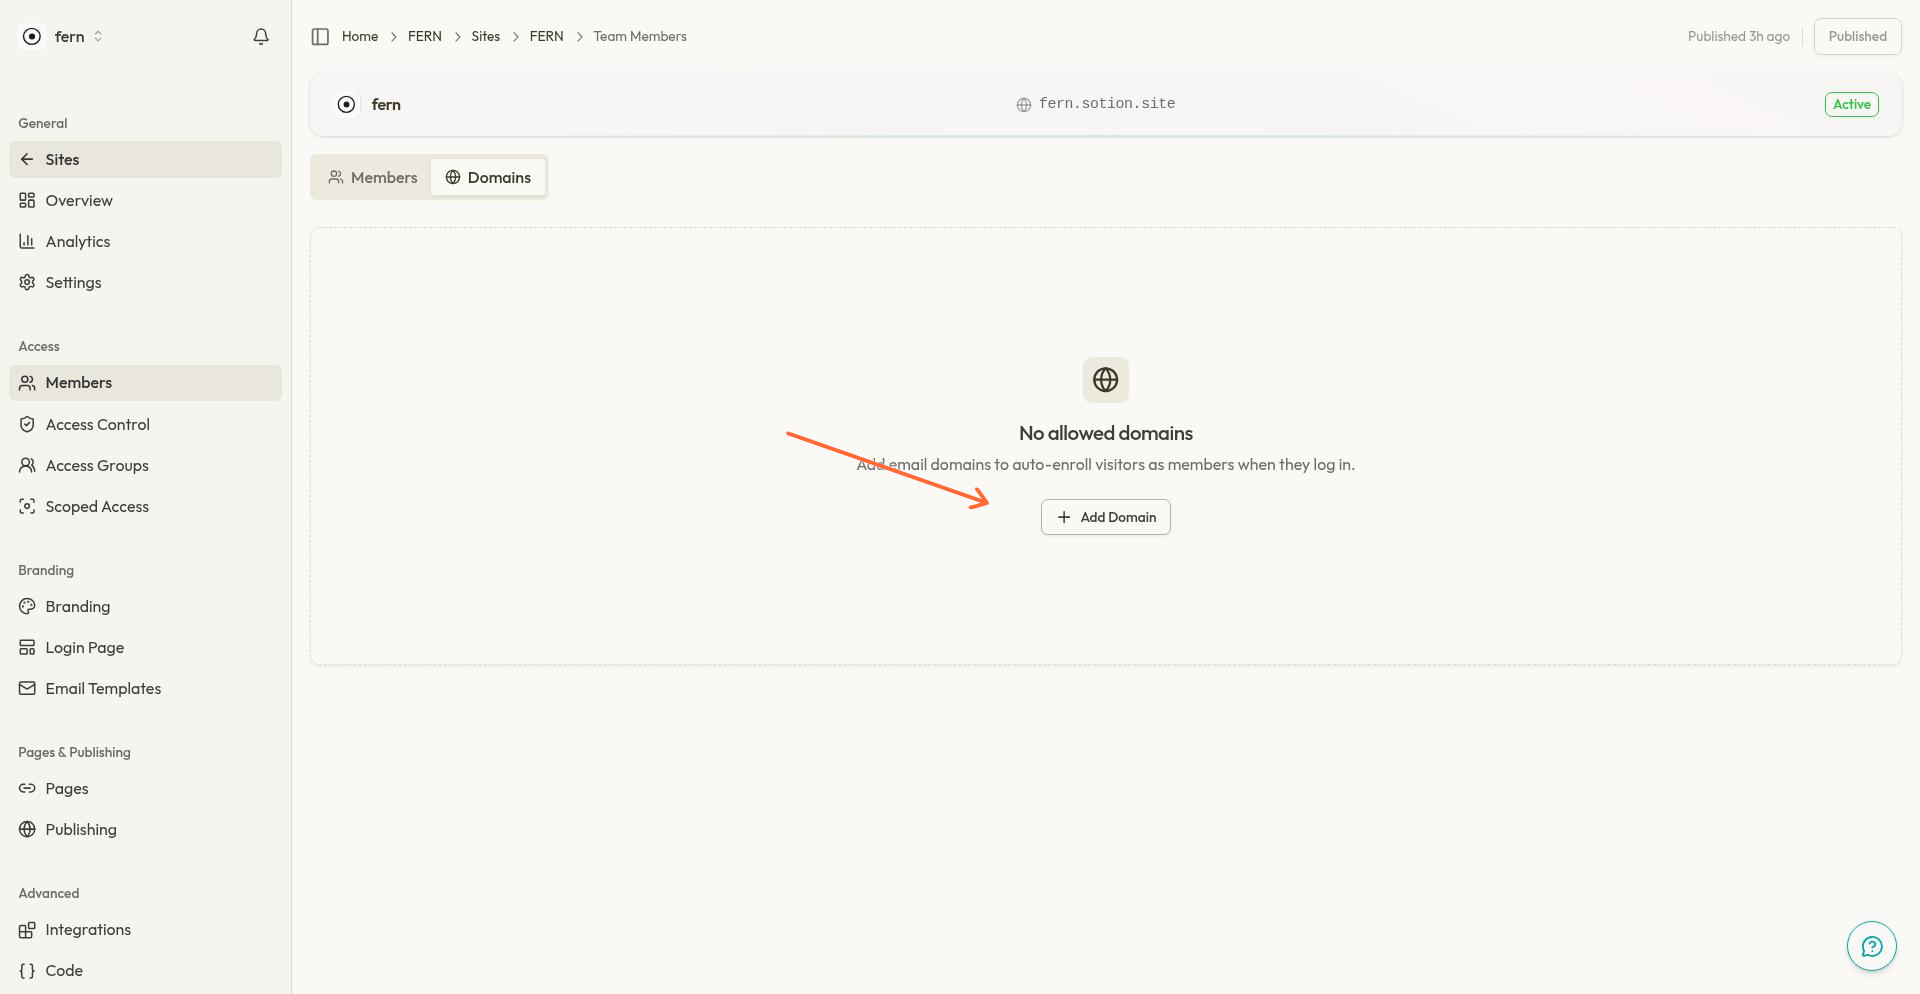
Add an Allowed Domain
Click Add Domain.
Enter the domain (e.g.,
company.com).(Optional) Assign members from this domain to access groups. New auto-enrolled members will inherit these group memberships.
Click Add Domain to save.
Edit or Remove a Domain
Use the actions menu on each domain row to edit group assignments or remove the domain entirely. Removing a domain does not affect existing members—it only stops new auto-enrollments for that domain.
Access Groups and Members
Access groups let you organize members and control which pages they can view. Members can belong to multiple groups, and you can manage group assignments from several places:
Add Members dialog: Assign groups when creating new members.
Edit member dialog: Modify group memberships for existing members.
Groups popover: Quick access from the member's row to add or remove groups.
You can create new access groups inline from any of these interfaces. For more on access groups and how they control page access, see Access Control Overview.
Next Steps
Access Control Overview: Understand how members, access groups, and page protection work together.
Member Login Page: Customize the login experience for your members.
API Overview: Manage members programmatically via the REST API.